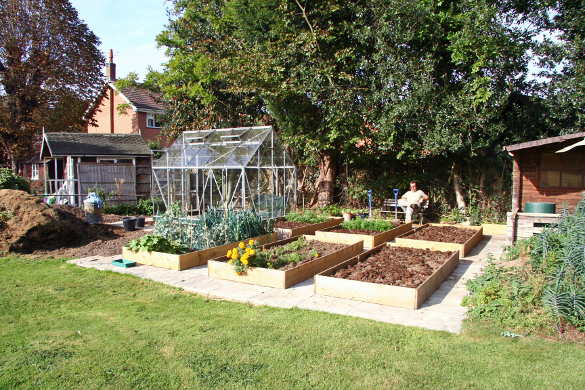
The Plot: |
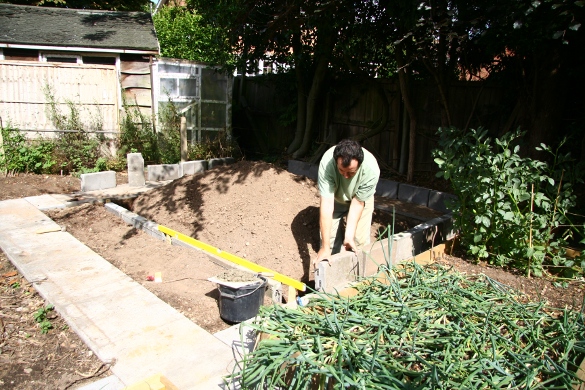
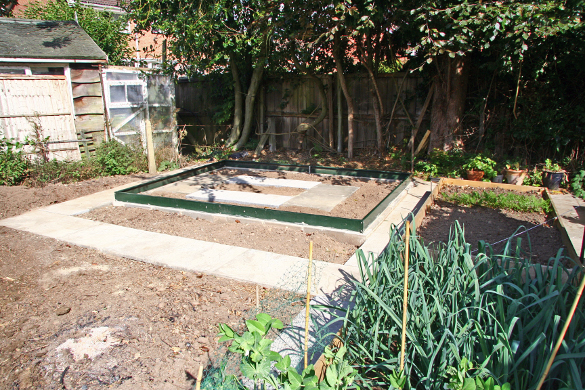
GreenhouseAs mentioned in the Layout section we found we had room for a ten foot greenhouse instead of an eight foot one and there would even be room to run it across the plot to get more sun into it. We decided to buy the steel base for the greenhouse and fasten this down to a secure foundation. The foundation was built by putting a layer of crushed rubble into the base of a trench, covering this with a layer of sand and then bedding a row of breezeblocks onto this with mortar.
Gaps were left at the four corners and half way down each long side so that the steel base could be concreted into place - this also meant that we didn't need to cut any of the breeze-blocks. The depth of the trench was made such that the breeze-blocks were flush with the slabs at one end. The whole plot was built so that there was a drainage slope from front to back and from left to right of about 1cm in 1m along the paths. We followed the instructions on the greenhouse and made its base level. This was a mistake as it turns out, as if the greenhouse is level then the gutters do not drain. The base had legs at each corner and some builders strapping was used to make some for half way along the long sides. The base was assembled before we made the foundations, just as well since the measurements given were not quite right. The foundations were made to fit the base and when they were complete the base was laid on top with its legs sticking down into the holes left in the foundation. I had screwed small angle brackets to the breeze-blocks so that they stuck out into the holes for the legs. I think I used two three inch brackets on each block. I made up some wooden shuttering to place alongside the breeze-blocks to define the inside and outside of the corners and some plain ones for the long sides. The shuttering was oiled on the concrete side with thick motor oil to act as a release agent and then they were put in place and backfilled with soil to hold them in place. A fairly strong concrete mix was made up and poured into the holes and made level with the breeze-blocks. This was left to set for about a week before the shuttering was dug out and removed with the help of a couple of taps from a lump hammer. The soil was then put back into the hole against the concrete.
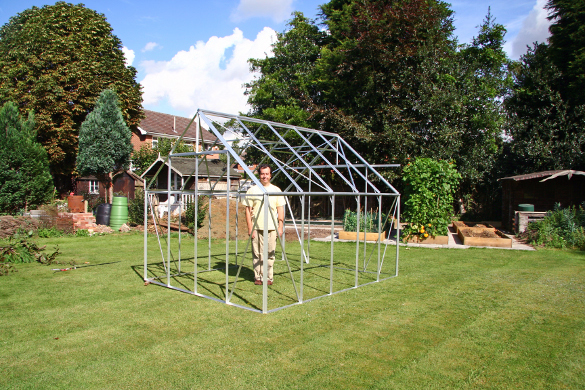
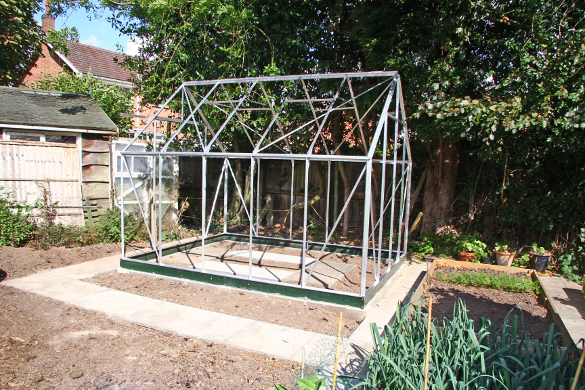
It then took us a couple of days to assemble the aluminium frame of the greenhouse and lift it into place on the base and secure it.
The glazing took another couple of days and was quite hard work. Scrunching the glass clips into place on the glass was not a pleasant experience. Still worse was to come when we assembled the sky lights. The instructions were to cut a rubber seal to fit round the edge of the glass, place the aluminium frame in situ, and knock it into place with a hammer. That's right a hammer. On the edge of a two foot square piece of agricultural glass. I still don't know how we managed this without breaking anything. Just the finishing touches left. The skylights were put in place and the automatic vents added to the two lights on the front of the greenhouse. Later we added automatic openers to the back two vents as well. We also added an automatic louvre vent on the back side of the greenhouse. All these automatic vents were quite costly but it means that we don't have to get up really early in the summer to go and open up the greenhouse to stop it overheating. It also makes it easier for our neighbour to look after when we go on holiday.
|
Related Pages: |
